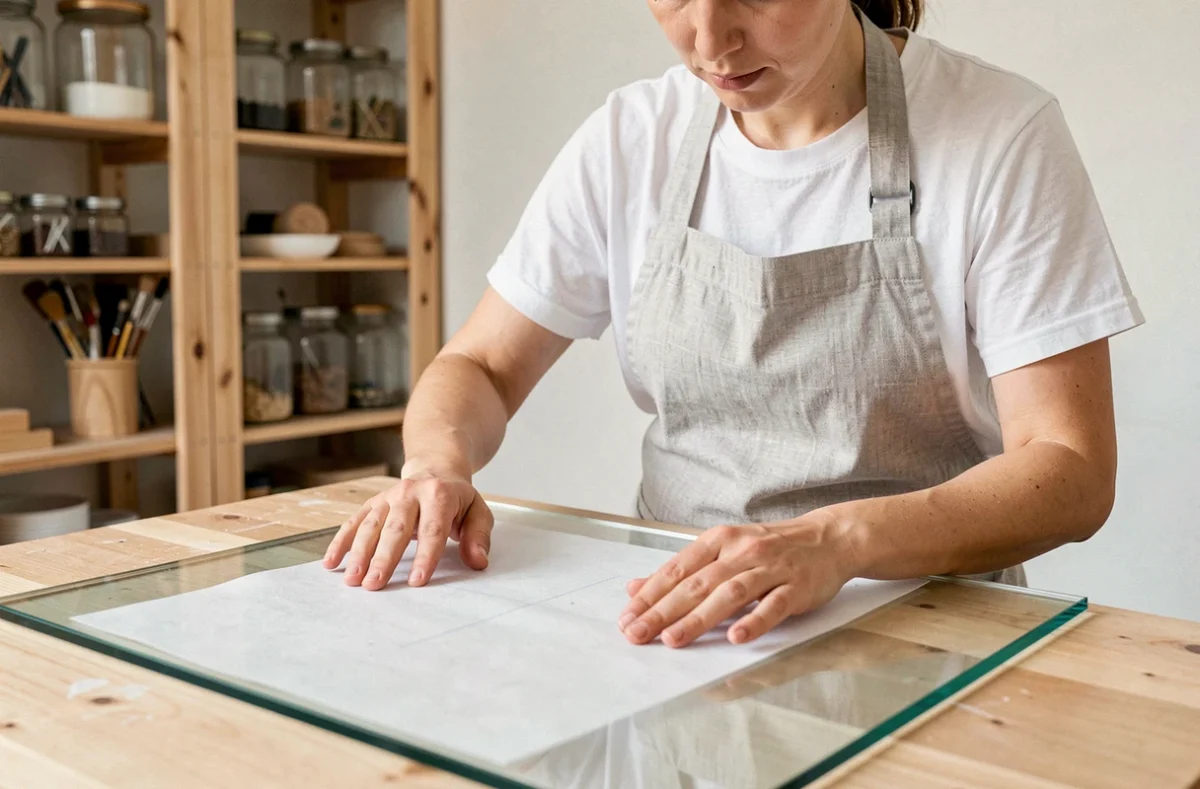
Tracing paper is a dense, smooth, semi-transparent cellulose-based material. Applied to glass, it creates a frosted or decorative effect that works well on windows, candle holders, and picture frames. The challenge lies in the contrasting properties of the two materials: tracing paper is porous and flexible, while glass is non-porous and rigid. If the paper is applied incorrectly, air gets trapped between the two surfaces, and the adhesive seeps into the paper’s fibers, leaving visible marks when viewed through the glass.
Tracing paper weight and composition: what affects the result on glass
Not all tracing paper performs equally well when glued. Lightweight tracing paper wrinkles easily when it comes into contact with a wet adhesive, while heavier paper stays more stable but requires firmer, even pressure to push out the air.
Composition matters as much as weight. Tracing paper made from pure, acid-free cellulose and compliant with ISO 9706 retains its transparency and does not yellow. Clairefontaine 110 g/m² tracing paper, for example, meets these criteria. But thick tracing paper does not guarantee a mark-free finish: its density slows adhesive absorption, giving you more time to smooth it out, but also making excess glue more visible through the paper.
Before working on the final piece, test gluing tracing paper to glass on a scrap piece to see how the paper reacts to your chosen adhesive: whether stains appear, the paper wrinkles, or its transparency changes. This quick test can save you from ruining an entire project.
Adhesive for tracing paper and glass: which one to choose for your project
Choosing an adhesive comes down to one simple question: should the bond be permanent, temporary, or reversible?
Temporary or reversible bonding
For seasonal decorations or a candle holder you want to reuse, two options work without leaving residue on the glass:
- Repositionable spray adhesive: it applies a thin, even layer that lets you peel off the tracing paper without tearing its fibers. With no thick adhesive film, there are fewer visible marks when viewed through the glass.
- Mild soapy water: sprayed onto the glass, it creates enough capillary adhesion for indoor display. The tracing paper comes off as it dries or when you lift it, leaving no residue.
- Thin double-sided tape: applied only along the edges of the tracing paper, it holds the sheet in place without touching the visible area. It comes off cleanly if you use a good-quality tape, such as repositionable masking tape.
Permanent bonding
For a decorative stained-glass effect or a closed frame, permanent spray adhesive provides a durable bond. Some permanent sprays are moisture-resistant, making them suitable for damp rooms. Water-resistant permanent spray adhesive is harder to remove later, so consider this before fixing the tracing paper in place for good.
UV, epoxy, and cyanoacrylate adhesives are formulated for glass-to-glass or glass-to-metal bonds. They are not suitable for tracing paper: they seep through the fibers, create saturated patches, and affect the material’s transparency.
Cleaning glass before gluing: remove dust and greasy films
Glass may look clean to the naked eye, but an invisible greasy film—fingerprints or household cleaner residue, for example—is enough to stop the adhesive from spreading evenly. Fine dust particles create raised spots that trap air beneath the tracing paper.
Clean the glass in two steps. First, wipe it with glass cleaner or water mixed with mild soap, using a lint-free cloth. Then dry it with a second clean, lint-free cloth to remove any remaining fibers.
Let the glass dry completely before applying the adhesive. Even the slightest film of moisture trapped between the glass and the adhesive can turn into a tiny bubble that shows through once the tracing paper is in place.
How to apply tracing paper without bubbles: smooth from the center outward
Most imperfections occur during application. Pressing the entire sheet down at once almost always traps air. The reliable method follows a simple principle: apply the tracing paper gradually, pushing the air out toward the edges.
Apply the adhesive to the tracing paper, not the glass
When using spray adhesive, hold the can about 20 centimeters away and sweep it across the tracing paper in even passes. A thin, uniform coat is enough. Too much adhesive saturates the fibers and creates shiny patches that show through the glass.
If you are using soapy water, spray it onto the glass, not the tracing paper. The film of water lets you reposition the sheet before it sticks.
Position and smooth the paper without trapping air
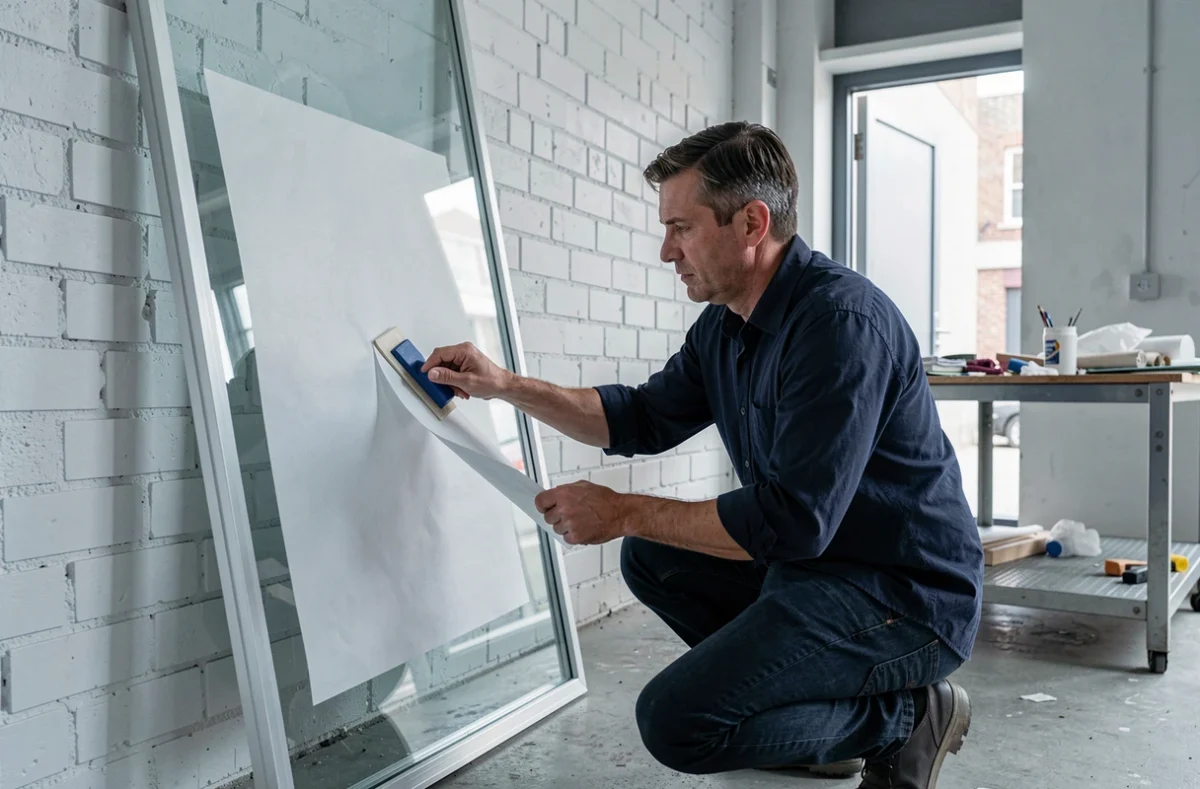
Align one edge of the tracing paper with the glass, then gradually unroll the sheet, smoothing it with a soft squeegee or the back of a rigid card. Work from the center toward the outer edges in parallel lines, without going back over the same area.
For large surfaces, working in horizontal strips a few centimeters wide prevents the tracing paper from sticking to itself. Wrapping a soft cloth around the squeegee protects the paper from scratches and helps it glide over the surface.
Remove any remaining bubbles
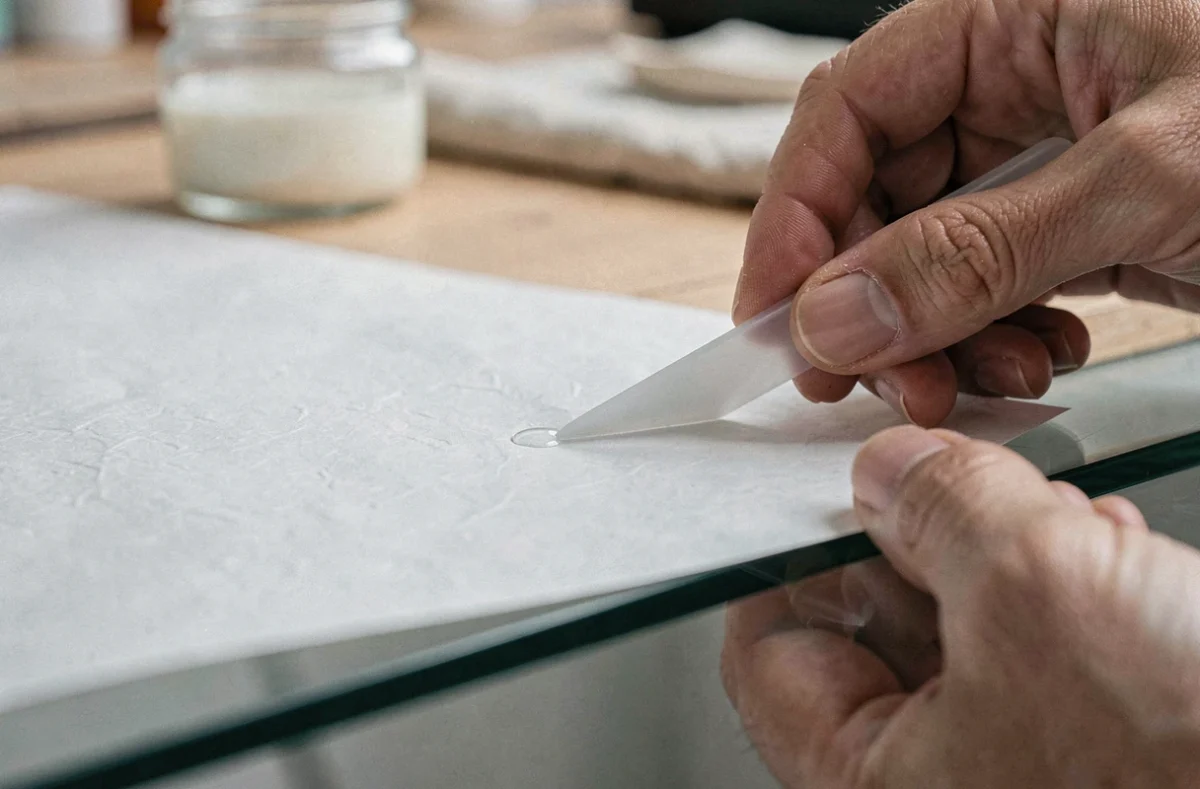
If small bubbles appear despite smoothing, there are two ways to deal with them. Carefully prick each bubble with the tip of a fine needle, then smooth toward the hole to push out the air. If you used water, gently lift the edge closest to the bubble and smooth the paper back down; this is usually enough.
Finishing touches and edges: prevent the tracing paper from peeling
The edges are the most vulnerable area. Tracing paper is exposed to mechanical stress there, such as rubbing and drafts, and the adhesive dries faster than it does in the center, leaving less time to work.
After smoothing the center, press firmly along the edges with the squeegee to ensure an even bond around the entire perimeter. For a permanent bond, a narrow strip of decorative tape or masking tape placed over the edges protects the join and gives it a neat finish.
Cut the tracing paper slightly larger than the glass surface, then trim it with a craft knife once it is in place. This gives you cleaner edges than cutting it to size beforehand with scissors, as the glass acts as a cutting guide.
Depending on the adhesive, it can take several hours to dry completely. Handling or moving the piece before then may cause the edges to peel away, where the adhesive has not yet bonded the fibers to the glass.